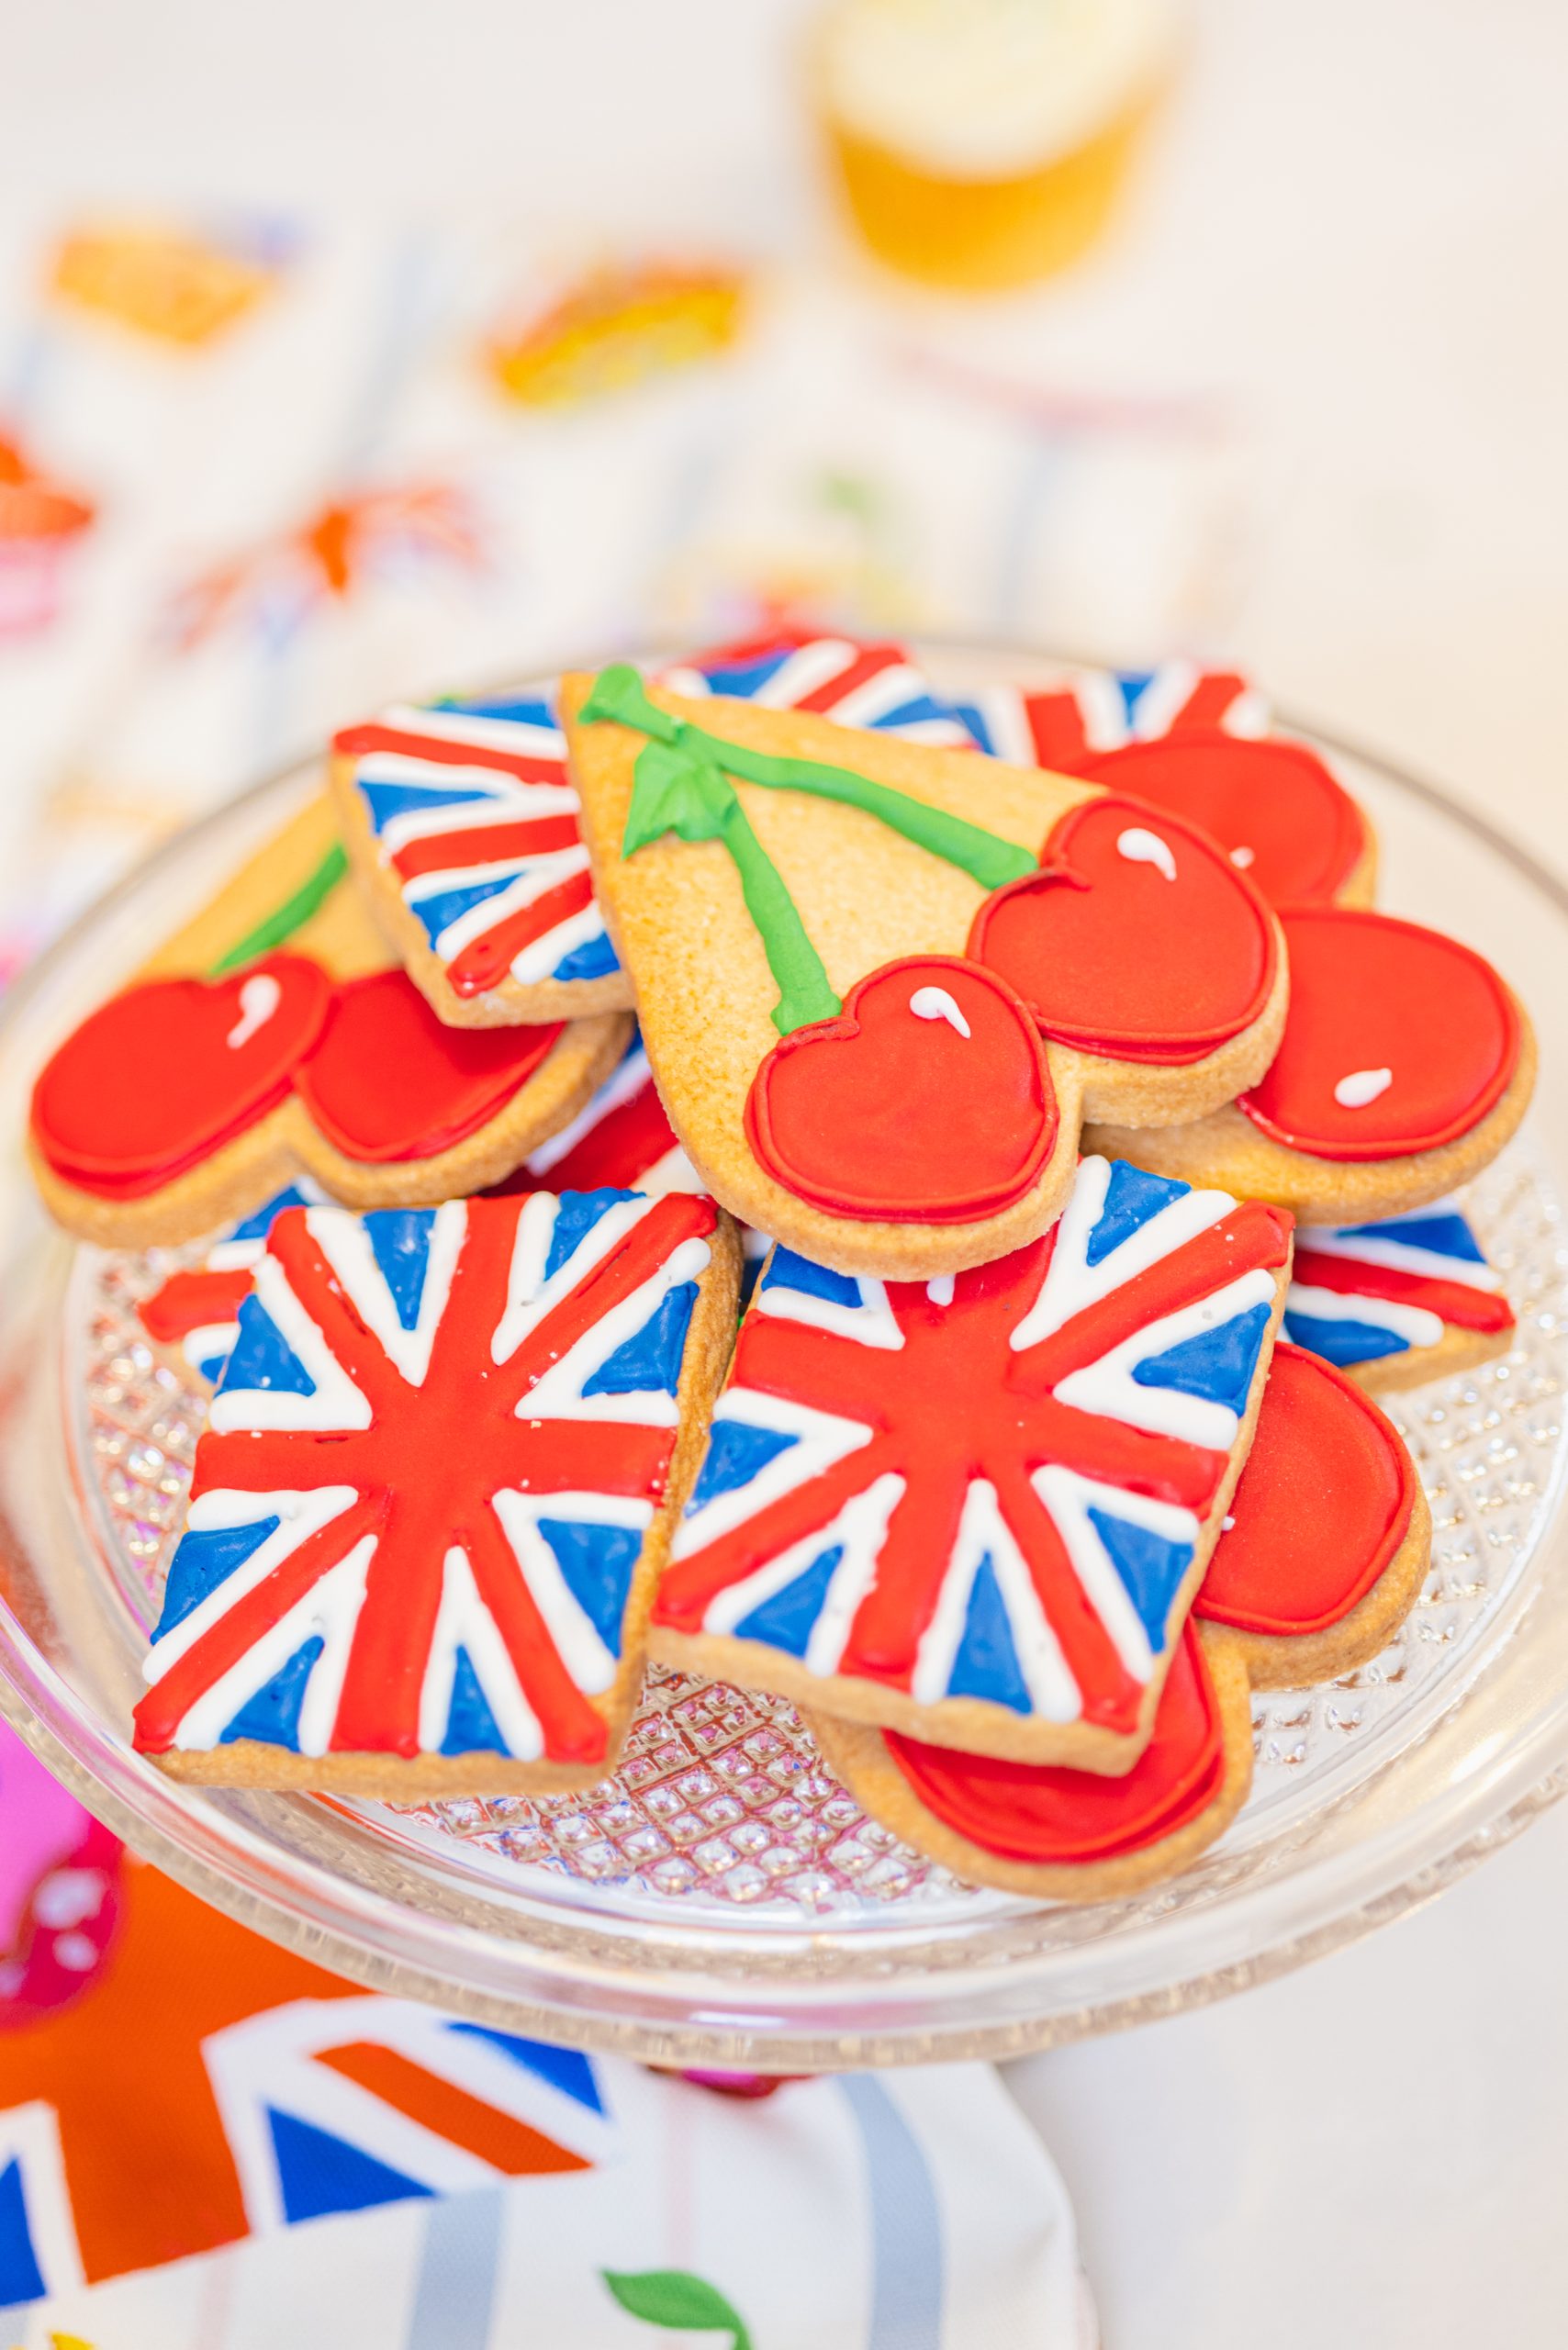
Coronation Cookies

These cookies are perfect to give out at street parties to celebrate the King’s Coronation.
Ingredients
Instructions
For the vanilla sugar cookies
Preheat the oven to 180°C (350°F/Gas 4) and line a baking tray with parchment paper.
Put the butter and sugar into a mixing bowl of a stand mixer (or do by hand in a large bowl with a wooden spoon or use an electric hand beater). Add the vanilla extract or paste or scrape out the seeds from the vanilla pod and add these. Mix on slow speed in an electric mixer or beat by hand until just combined.
Add the egg and mix, still on a slow speed, or use a wooden spoon, until fully incorporated.
Tip in all the flour and continue to mix until a dough is formed. If the mixture is a little sticky, add a little more flour. If it’s a bit dry, add a few drops of water. You’ll know it’s the right consistency when the dough comes together without leaving sticky traces on the bowl and forms a nice, shiny, pliable ball.
Roll the dough out on a clean, floured surface – use plenty of flour to prevent sticking. If you have them, use guide sticks/marzipan spacers for rolling out the dough. This will ensure you get an even thickness, and the cookies bake evenly. Otherwise, just take care to apply even pressure. Roll to a thickness of about 5mm (1/4in). If you want to bake onto lolly sticks, leave them a little thicker so you can push the sticks into the dough carefully, about ¾ of the way in and bake them onto sticks.
Once the dough is rolled out, cut your shapes out with cookie cutters or card template
Use a palette knife or cake slice to pick up the cookies and transfer them to a lined baking tray. Leave a gap of about 2.5cm (1in) between each one.
Place in the oven and bake for around 12-15 minutes. Check after 10 minutes, as all ovens vary. The cookies should be golden brown, firm, and springy to the touch. Leave to cool on a the trays for 5 mins then cool on a wire rack.
To decorate
Make up the royal icing according to the pack instructions and make the coloured shades in separate bowls. Load into piping bags and get everything ready before beginning. If you have bag clips, it’s handy to clip the top of the bags to prevent the icing from spilling out of the top.
Pipe the central red cross to begin with, then add the 4 diagonal sections joining into the centre.
Pipe little triangles of blue in between each section. Then with the runnier icing, flood/fill in the outlined sections with the red and blue icing. It’s best to let this dry now before filling in the gaps with white, to prevent the white from becoming a bit stained by the other colours as sometimes the colour can bleed into neighbouring wet icing panels. Allow to dry for a few hours, ideally overnight. A god place to leave them is in a closed cool oven overnight to prevent them from any dust etc.
Once dry, fill in the white lines in between with the white soft peak icing to finish off. Leave to dry. These last very well for a few weeks if kept well wrapped or in an air tight container so you can make these well ahead of your celebrations!